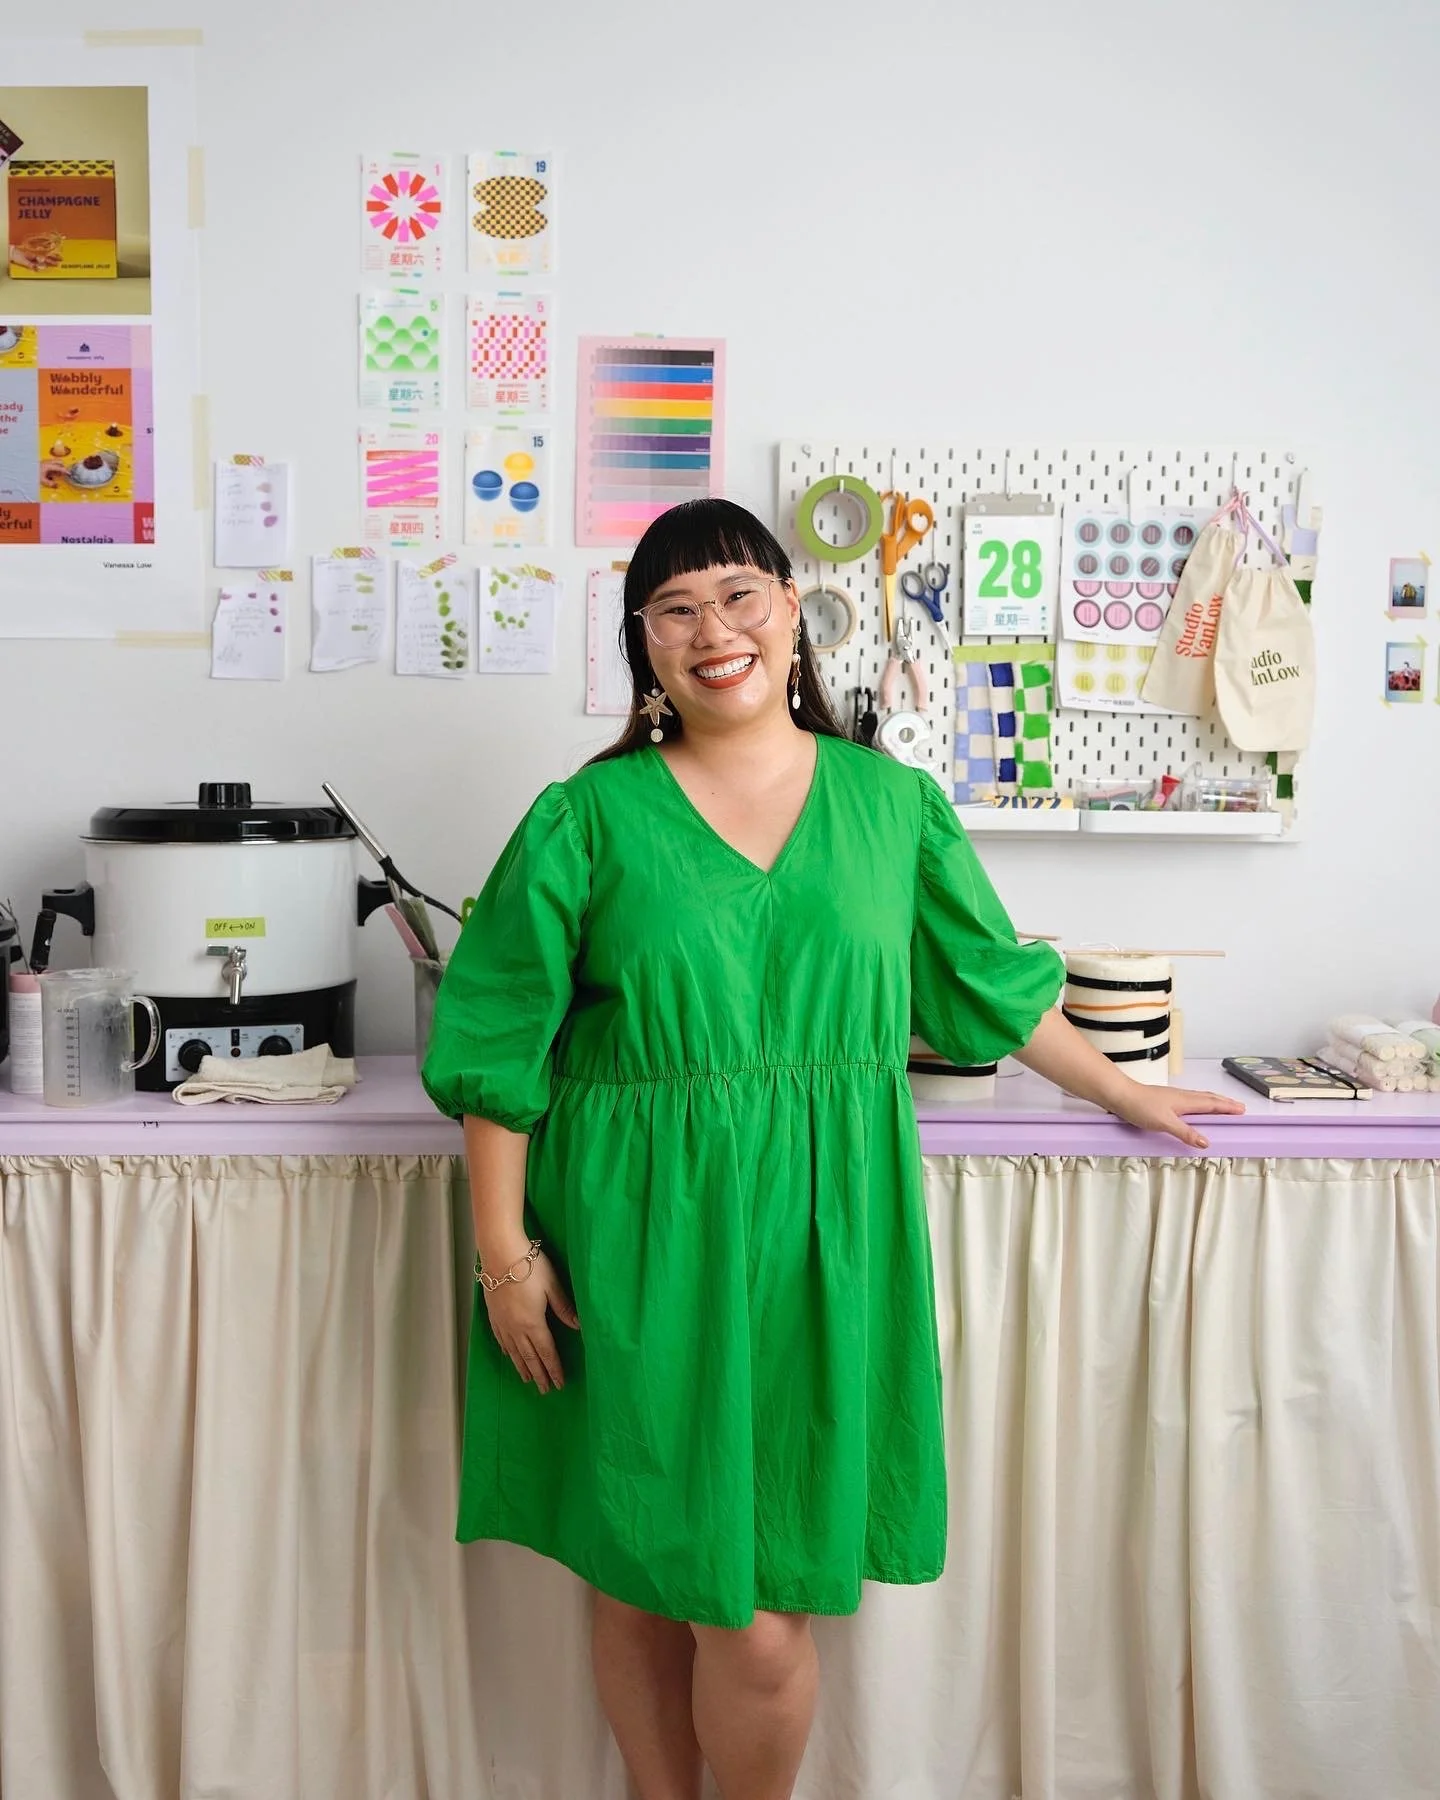
My Candle-Making Journey: lessons, experiments, choices, fails, and successes

I’m almost ready to share Studio Van Low candles with the world but it hasn’t been a straightforward process. I love designing with interesting colours, shapes and textures, and am somewhat addicted to taking on new projects. So, when I first thought of exploring candle-making six or so months ago, I really wanted to give it my best try.
However, I had no idea how deep and complicated candle-making could get. I learnt a lot of things along the way and thought they’d be insightful for other candle-makers or people interested in knowing more about what goes into my designs.
Moulds
Once I had an idea of my designs, I needed to translate them into 3D objects so that I could create the moulds. I experimented with making objects out of clay - which was exceptionally underwhelming - but was lucky enough to have a friend help me with a 3D computer-aided design (CAD). He was a whiz and translated my terrible sketches into a mould design, which he also generously printed.

The first mould

My 3D CAD designs
I was so excited to work with these moulds and had purchased soy wax to start experimenting. Unfortunately the parts of the mould did not connect absolutely seamlessly - wax is exceptionally unforgiving! - and the wax leaked out (our kitchen was a mess!).
Determined to try again, I taught myself how to create 3D CAD designs (where would we be without YouTube?) and had them printed, this time in SLA resin which has a very smooth finish (if you need a rabbit hole to go into, check out different types of 3D printing!).

My CAD designs 3D-printed in SLA resin

Using a mould, made from casting the 3D-printed objects
The 3D prints came out beautifully and I was really glad I invested in them. So, next came the silicone mould.
I originally worked with a standard silicone (that seems most popular in Australia) and was determined to get things perfect, as silicone is quite pricey. However, despite all my research, experimentation was truly the greatest teacher. I found that in addition to being expensive, the original silicone I used was very stiff and made it hard to release the object. I then researched other silicone options and was very glad to find a cheaper, softer alternative from a small business in Melbourne.
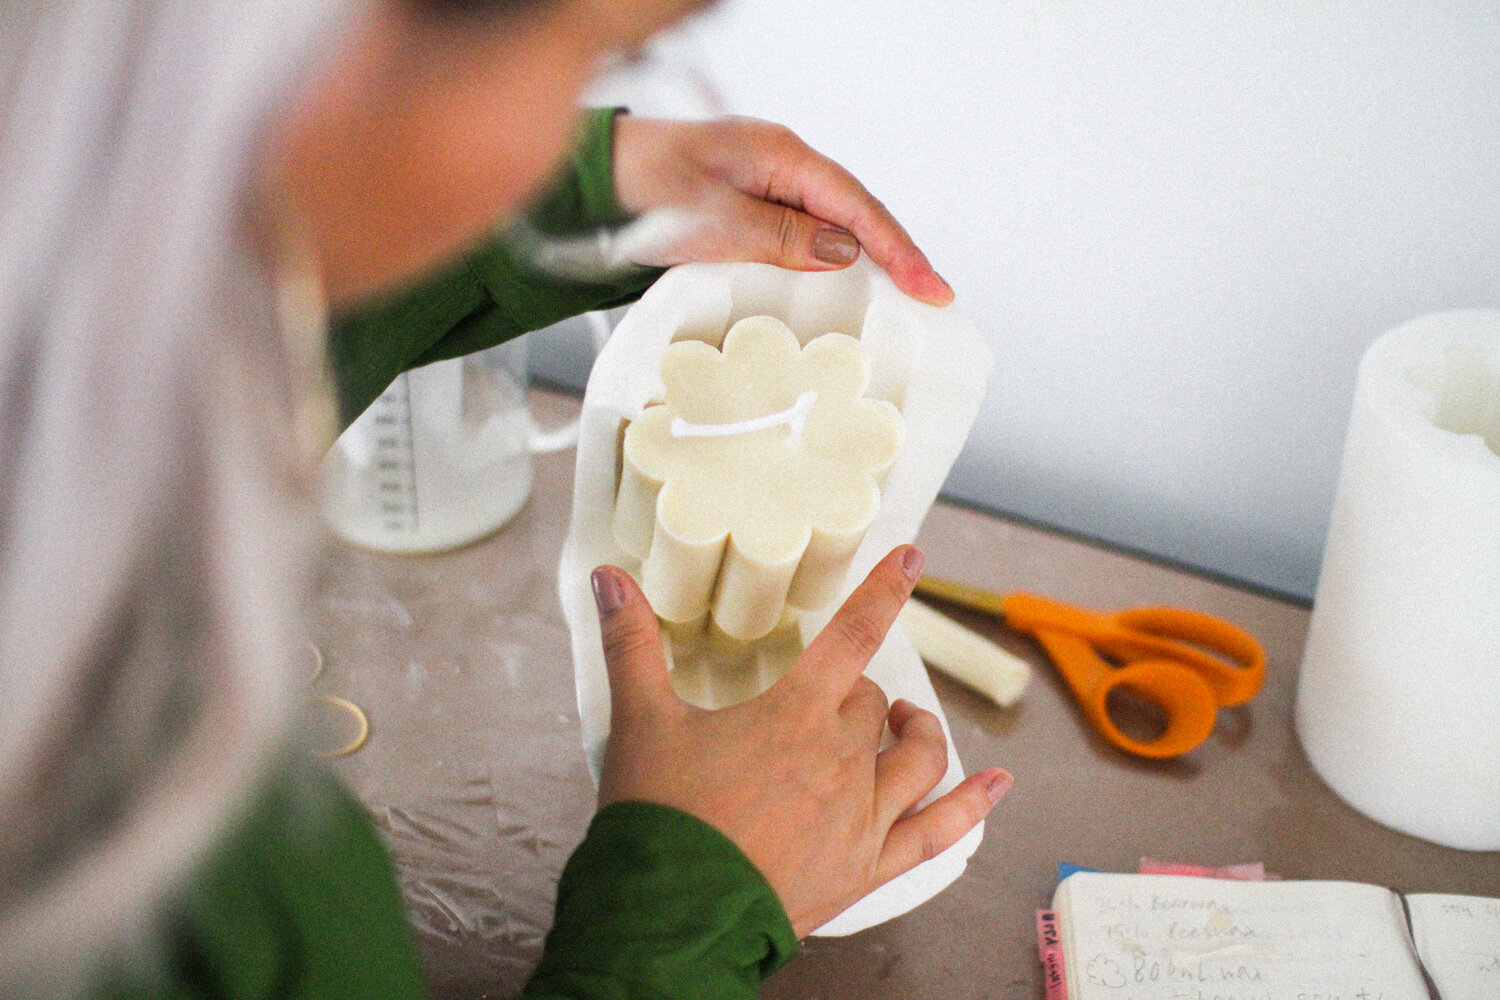
Removing a candle from its silicone mould
Once I was happy with the silicone, I had to make the moulds (another big learning process). Silicone is an interesting substance: exceptionally sticky and waterproof (if you get it on your hands, it won’t wash off) however it becomes a solid that can peel off any surface easily once it’s set.
This part of my candle-making journey was the most challenging, messy and (at times) soul-crushing. It’s tricky to get right and even the tiniest things can make a huge difference. For example, I’ve learnt that silicone should be mixed very slowly and poured in a thin stream from a height, in order to avoid bubbles. Once a bubble gets in your mould, everything you cast will have that bubble. Forever. And there goes $50 worth of silicone…
However, we eventually got there with the moulds. Now, on to…
Wax and wicks
My, oh my. I had no idea how complicated the world of candle wax was.
Type of wax
I knew from the outset that I wanted to use a wax that burned cleanly and was ethically sourced. I started with soy wax, which was most readily available and economical, and I enjoyed candles made of soy wax in the past.
Sourcing the soy wax took a lot of research - most sellers that I found did not indicate where their wax was made or whether it was sustainably sourced. In fact, it was pretty surprising how few had transparent supply chains (it really hit home how little we know about where our products come from!).

Trialling different soy waxes

Trialling different soy waxes
Once I found a brand that I liked, I experimented with a few of their different soy wax offerings. I excitedly cast one of my candles, only to find that the wax was exceptionally soft and melted in my hands. Herein lies our crucial problem: because soy wax has such a low melting point, standalone candles (in contrast to candles in jars) are often made of harder waxes such as paraffin, palm wax or stearin (byproducts of crude oil) or a generic ‘soy wax blend’ which usually contains some of the above.
Although many companies use paraffin, palm wax or stearin (sometimes misleadingly labeled as simply ‘natural wax’ or ‘plant-derived wax’) due to their hardness, appearance and affordability, it didn’t feel right for me. So, I turned to the true queen of all waxes: beeswax.
Beeswax is unrivalled in the wax world as it has a high melting point, extremely long burn time, and purifies the air (rather than polluting it like some other waxes). However, it is at least triple the price of other waxes and harder to source.
After another rabbit hole of research, I found a small beekeeper in Sydney that I was able to get wax from. His family has kept bees for many years and he had a pre-existing amount of wax from the beekeeping process. At this point, I realised how good it felt to work with small, local businesses rather than big companies exclusively.

Blocks of pure beeswax, minded by Elliott

Beehives belonging to my local beeswax supplier
Creating the perfect mix
At first, I wanted to use 100% beeswax however I found that after casting a few candles, I wasn’t drawn to the hard feel and finish. So, I started to experiment with my own blend of beeswax and pure soy wax.
Experimenting with blending waxes isn’t as straightforward as you might think. Different waxes have different melting temperatures and pouring temperatures (and also the correct temperature for when to add fragrances, which I didn’t even get into). Different waxes also contract at different temperatures, and they can take different times to set, too. It’s taken months of experimenting but I’ve finally found a ratio that I think works best. My candles have a smooth, luxurious feel and a sturdiness from the beeswax that makes them last longer.
I came across a lot of research that recommended adding stearin into wax mixes to make candles harder but I haven’t been able to find a sustainable non-palm-oil-derived stearin yet (if you know one, drop me a line please!).
Wicks
Think of the last time you burnt a candle. Did you notice the wick? Probably not. But, it turns out, there’s a lot to consider! I experimented with wicks of various diameters and many nights were spent watching candles burn and observing how the wicks worked. This post is already getting too long, so I’ll just say that I am happy to report I’ve found Australian-made, lead free wicks that suite my candles well.
Colours
Of course, I couldn’t neglect colour! But, where do colours come from? It would have been quite simple to hop online and pick any colour I wanted from un-marked brands however, I was bewildered to find that so few candle colours had transparent information.
So, I went on a tangent of using all-natural colourants: ultramarine, Australian red clay, French white clay, charcoal… I was determined that this was the way forward. However, it took one burn of a charcoal-dyed candle which melted entirely in a flash, to realise that these ingredients would alter the burn-times. Also, as the beeswax was already yellow, the colours were even harder to mix and get correct.

My beautiful experimental candle dyed black with charcoal, which melted in an instant due to the charcoal *sad face*

Experimenting with colour palettes
Back to researching! I eventually found brand of non-toxic, vegan dyes made in Germany. I won’t go into the long story of how I was able to track some down in Australia but as soon as I started working with them, I was so glad that I had gone to the extra effort.
Testing, testing, testing
Testing, testing, testing. I can’t count how many nights I’ve spent at the candle workbench, my apron covered in silicone and wax, thinking that this would be such a sorry waste of time if I couldn’t overcome the next hurdle.
But we’re almost there!
I am so excited to share my candles with you, after months of fine-tuning and learning lessons the hard way (hopefully you’re reading this so you can learn from my mistakes).


Studio Van Low candles launch at 8am on Thursday 25 February